Valhalla's Things: I've been influenced
Tags: madeof:atoms
 By the influencers on the famous proprietary video platform1.
When I m crafting with no powertools I tend to watch videos, and this
autumn I ve seen a few in a row that were making red wool dresses, at
least one or two medieval kirtles. I don t remember which channels they
were, and I ve decided not to go back and look for them, at least for a
time.
By the influencers on the famous proprietary video platform1.
When I m crafting with no powertools I tend to watch videos, and this
autumn I ve seen a few in a row that were making red wool dresses, at
least one or two medieval kirtles. I don t remember which channels they
were, and I ve decided not to go back and look for them, at least for a
time.
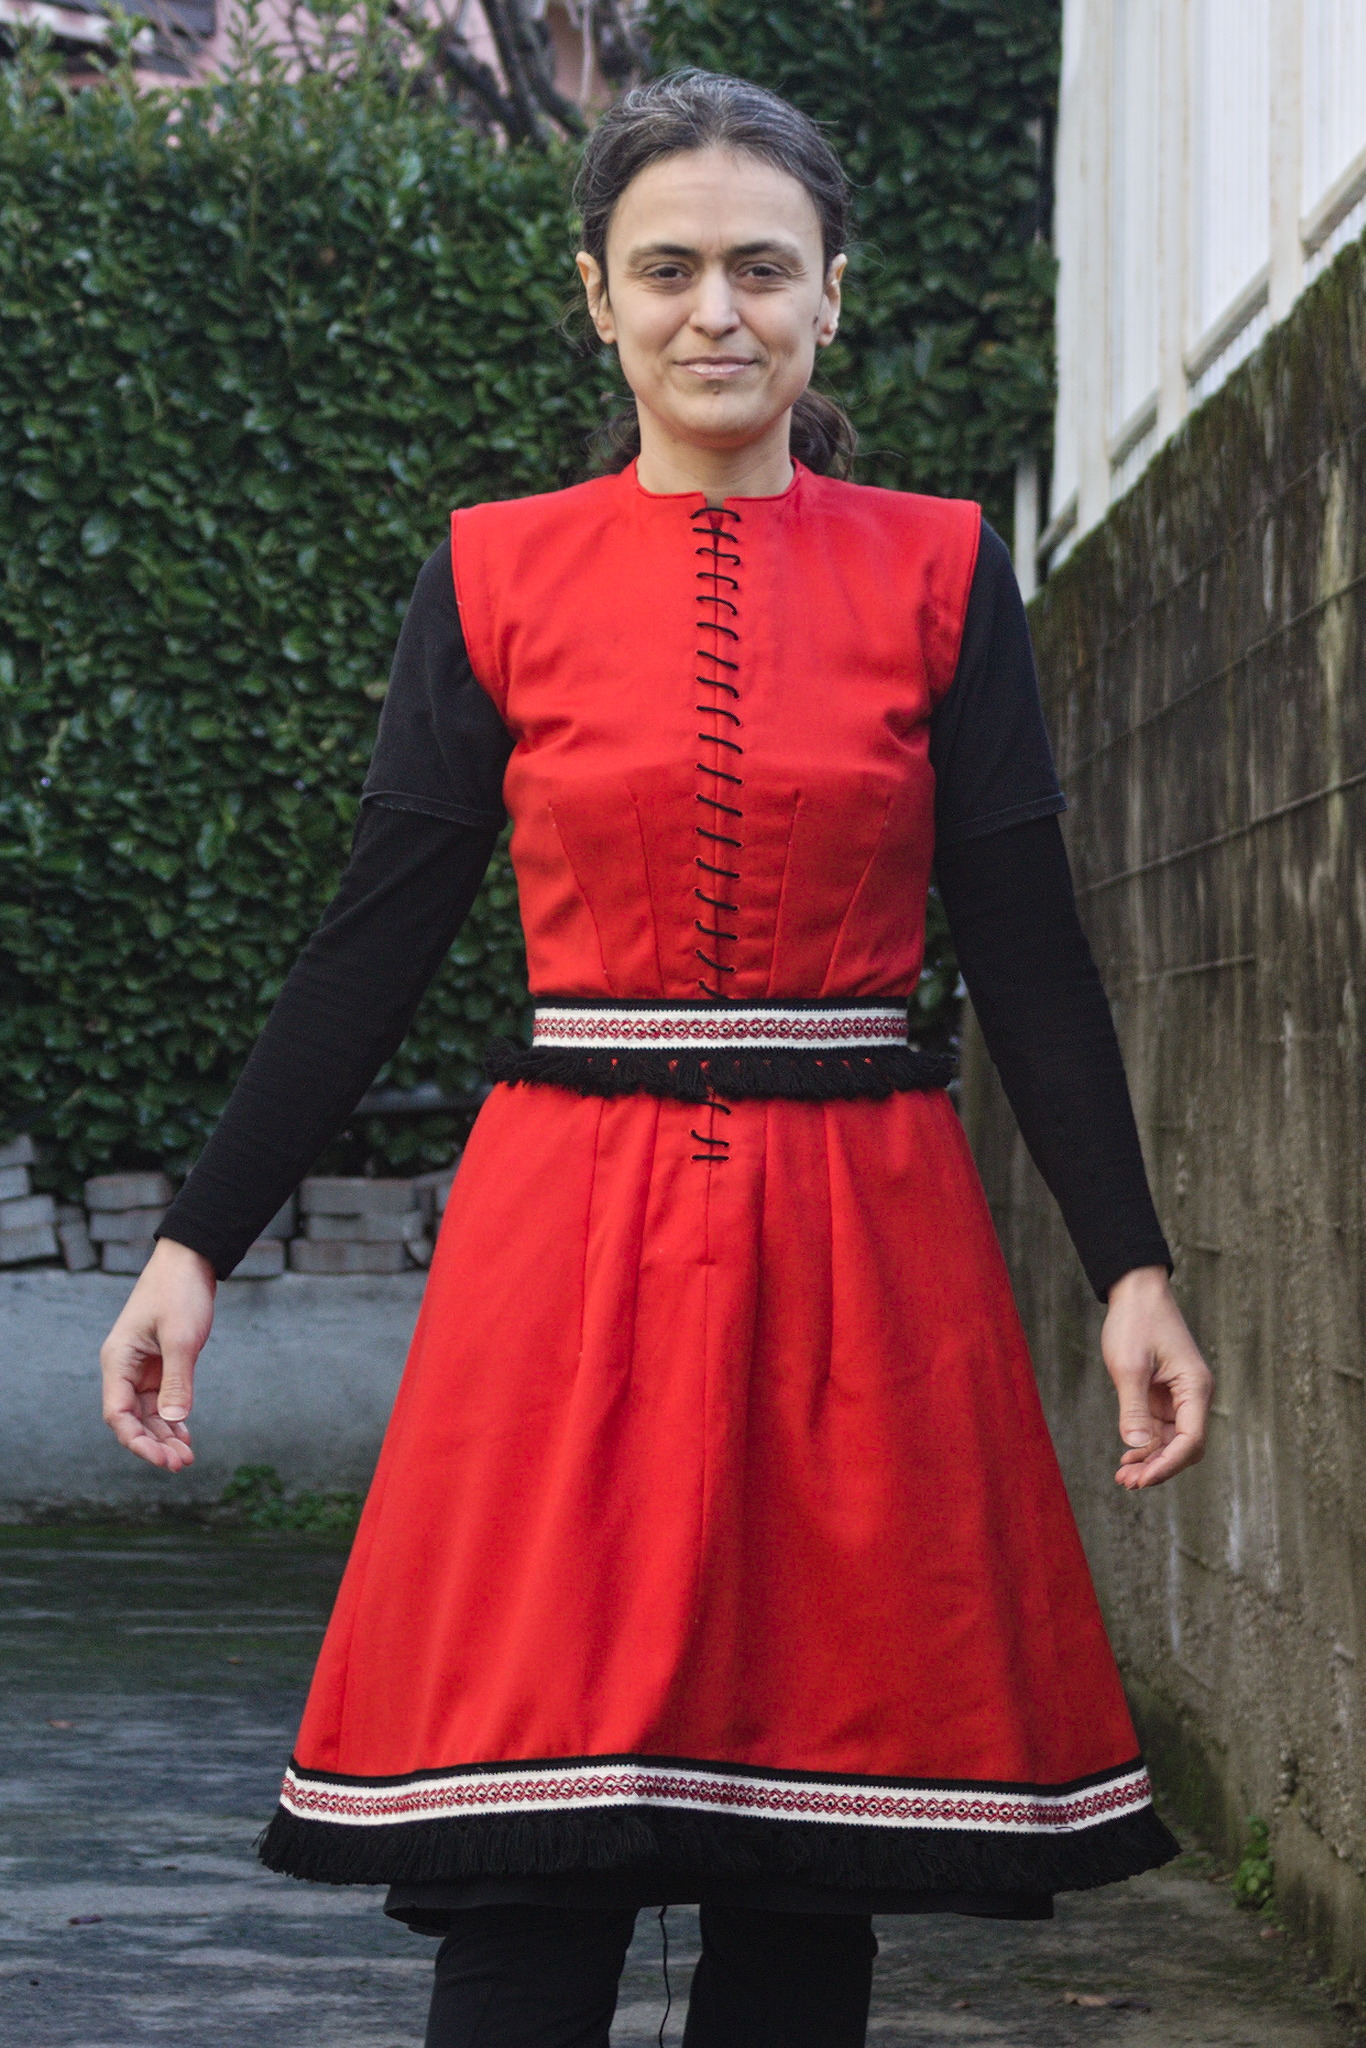
 Anyway, my brain suddenly decided that I needed a red wool dress, fitted
enough to give some bust support. I had already made a dress that
satisfied the latter requirement
and I still had more than half of the red wool faille I ve used for the
Garibaldi blouse (still not blogged, but I will get to it), and this
time I wanted it to be ready for this winter.
While the pattern I was going to use is Victorian, it was designed for
underwear, and this was designed to be outerwear, so from the very start
I decided not to bother too much with any kind of historical details or
techniques.
Anyway, my brain suddenly decided that I needed a red wool dress, fitted
enough to give some bust support. I had already made a dress that
satisfied the latter requirement
and I still had more than half of the red wool faille I ve used for the
Garibaldi blouse (still not blogged, but I will get to it), and this
time I wanted it to be ready for this winter.
While the pattern I was going to use is Victorian, it was designed for
underwear, and this was designed to be outerwear, so from the very start
I decided not to bother too much with any kind of historical details or
techniques.
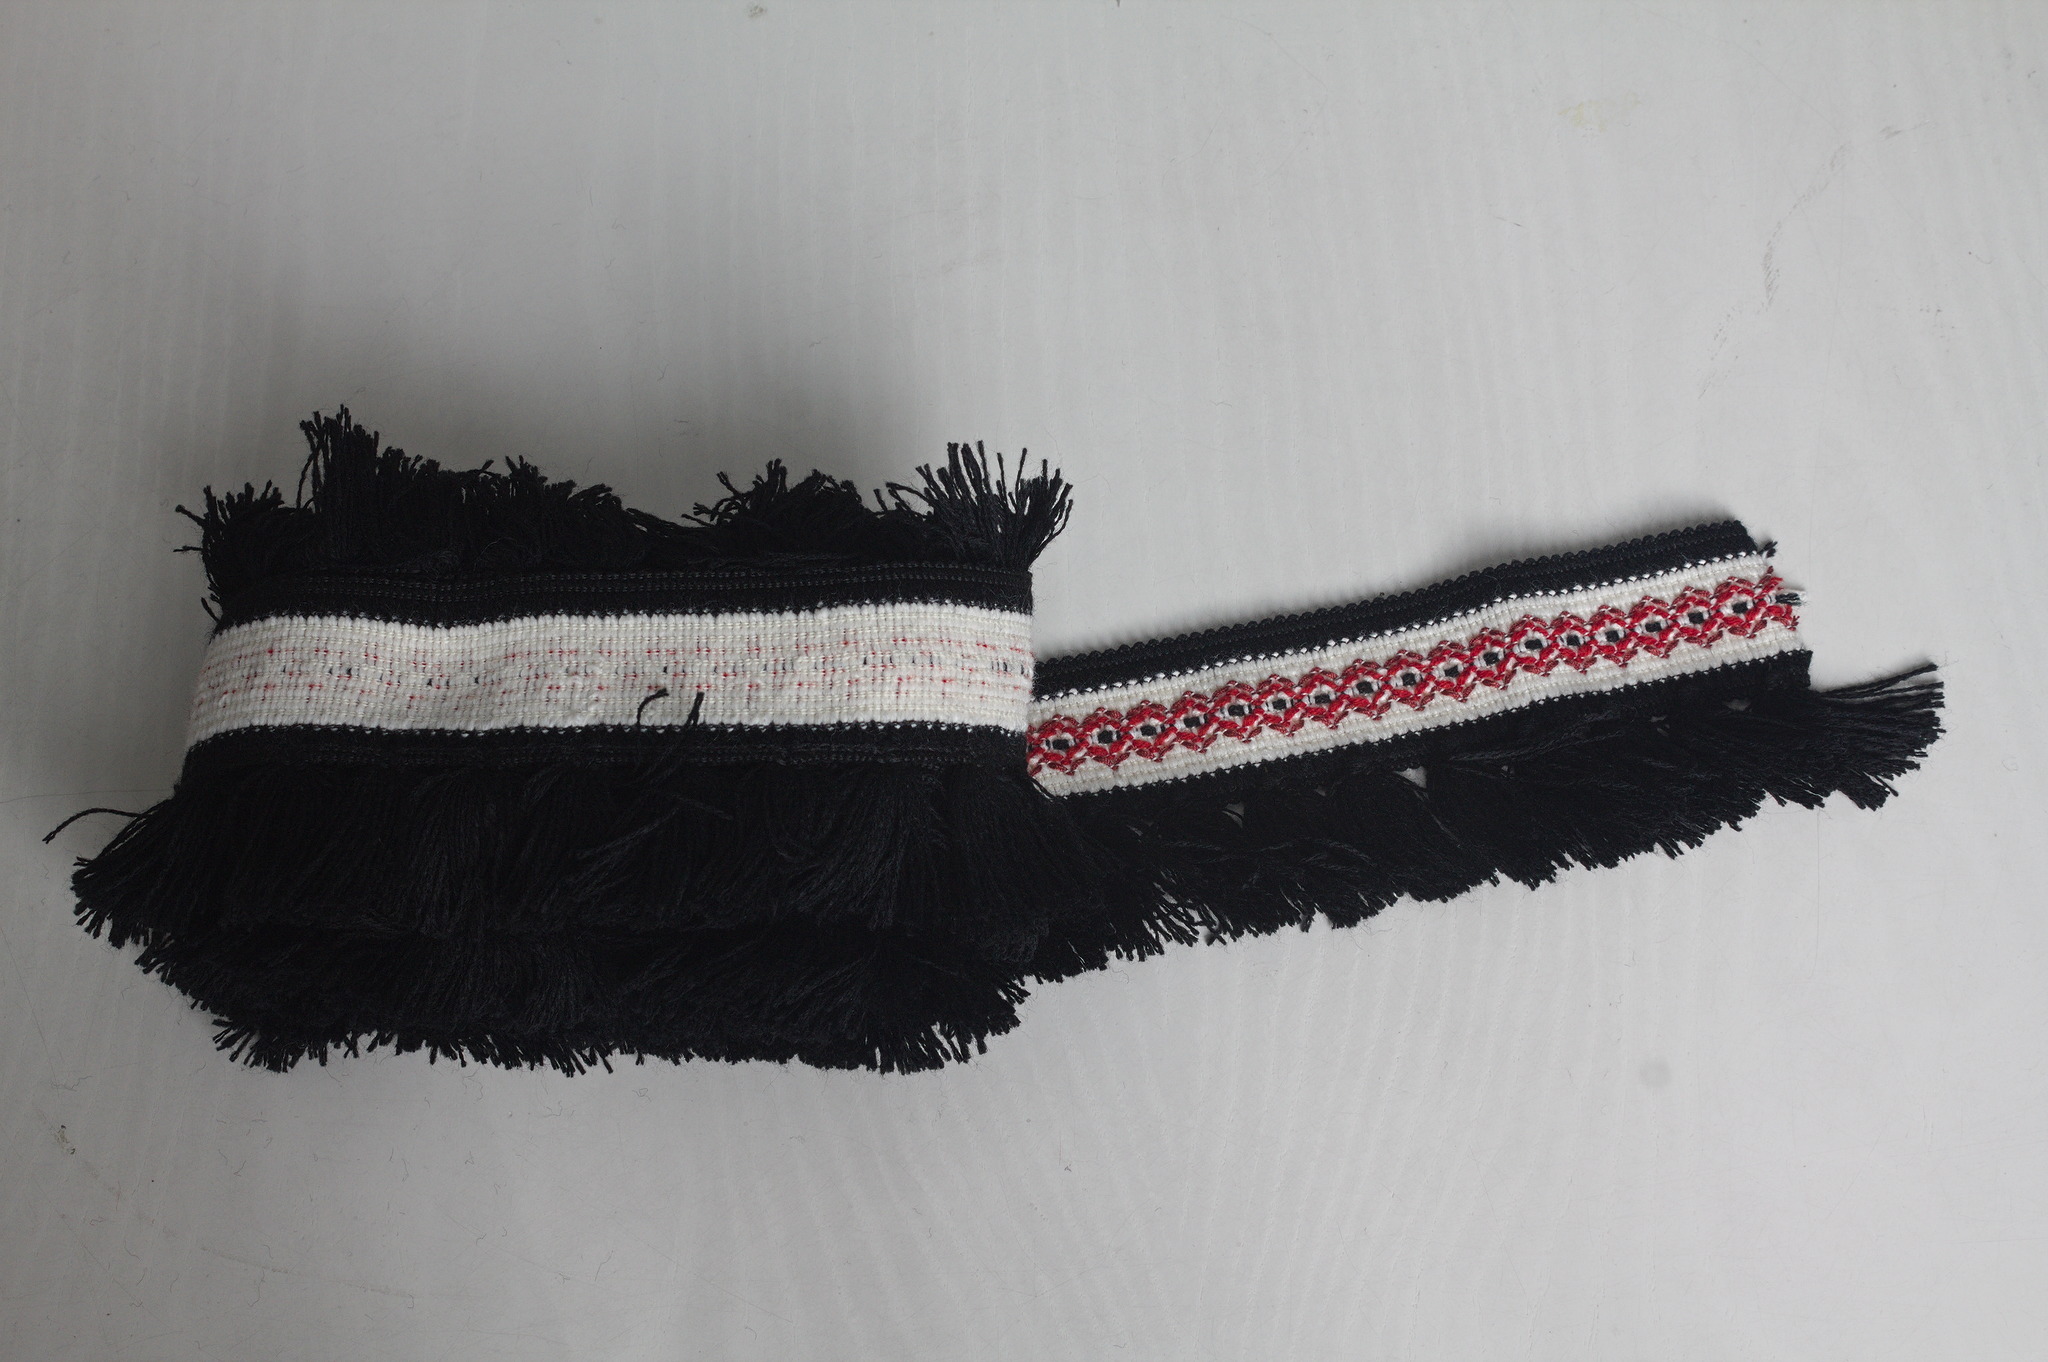 I knew that I didn t have enough fabric to add a flounce to the hem, as
in the cotton dress, but then I remembered that some time ago I fell for
a piece of fringed trim in black, white and red. I did a quick check
that the red wasn t clashing (it wasn t) and I knew I had a plan for the
hem decoration.
Then I spent a week finishing other projects, and the more I thought
about this dress, the more I was tempted to have spiral lacing at the
front rather than buttons, as a nod to the kirtle inspiration.
It may end up be a bit of a hassle, but if it is too much I can always
add a hidden zipper on a side seam, and only have to undo a bit of the
lacing around the neckhole to wear the dress.
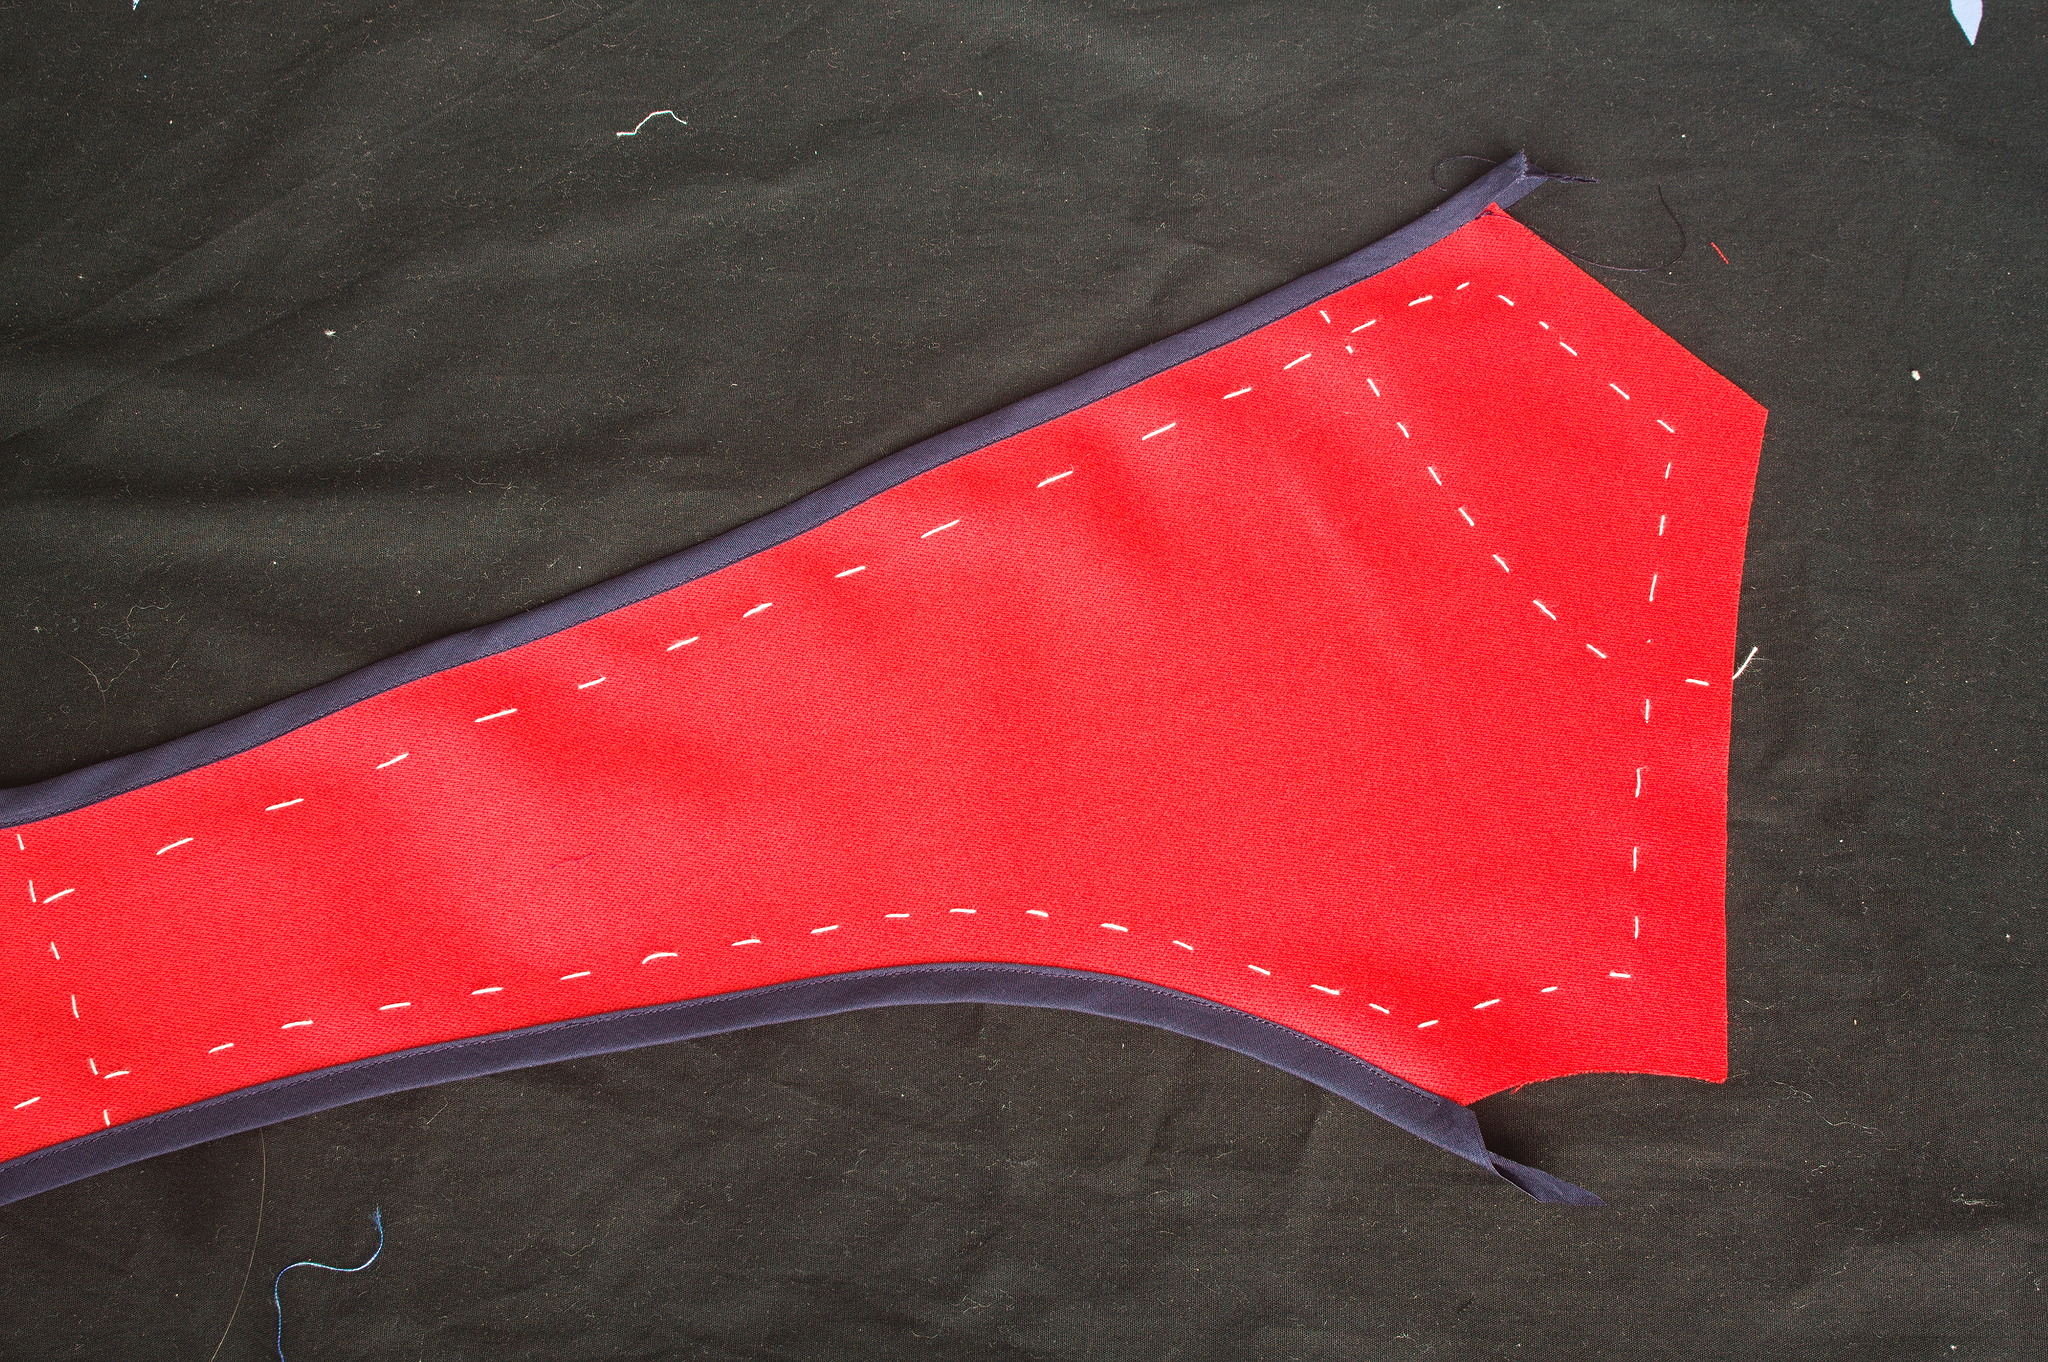
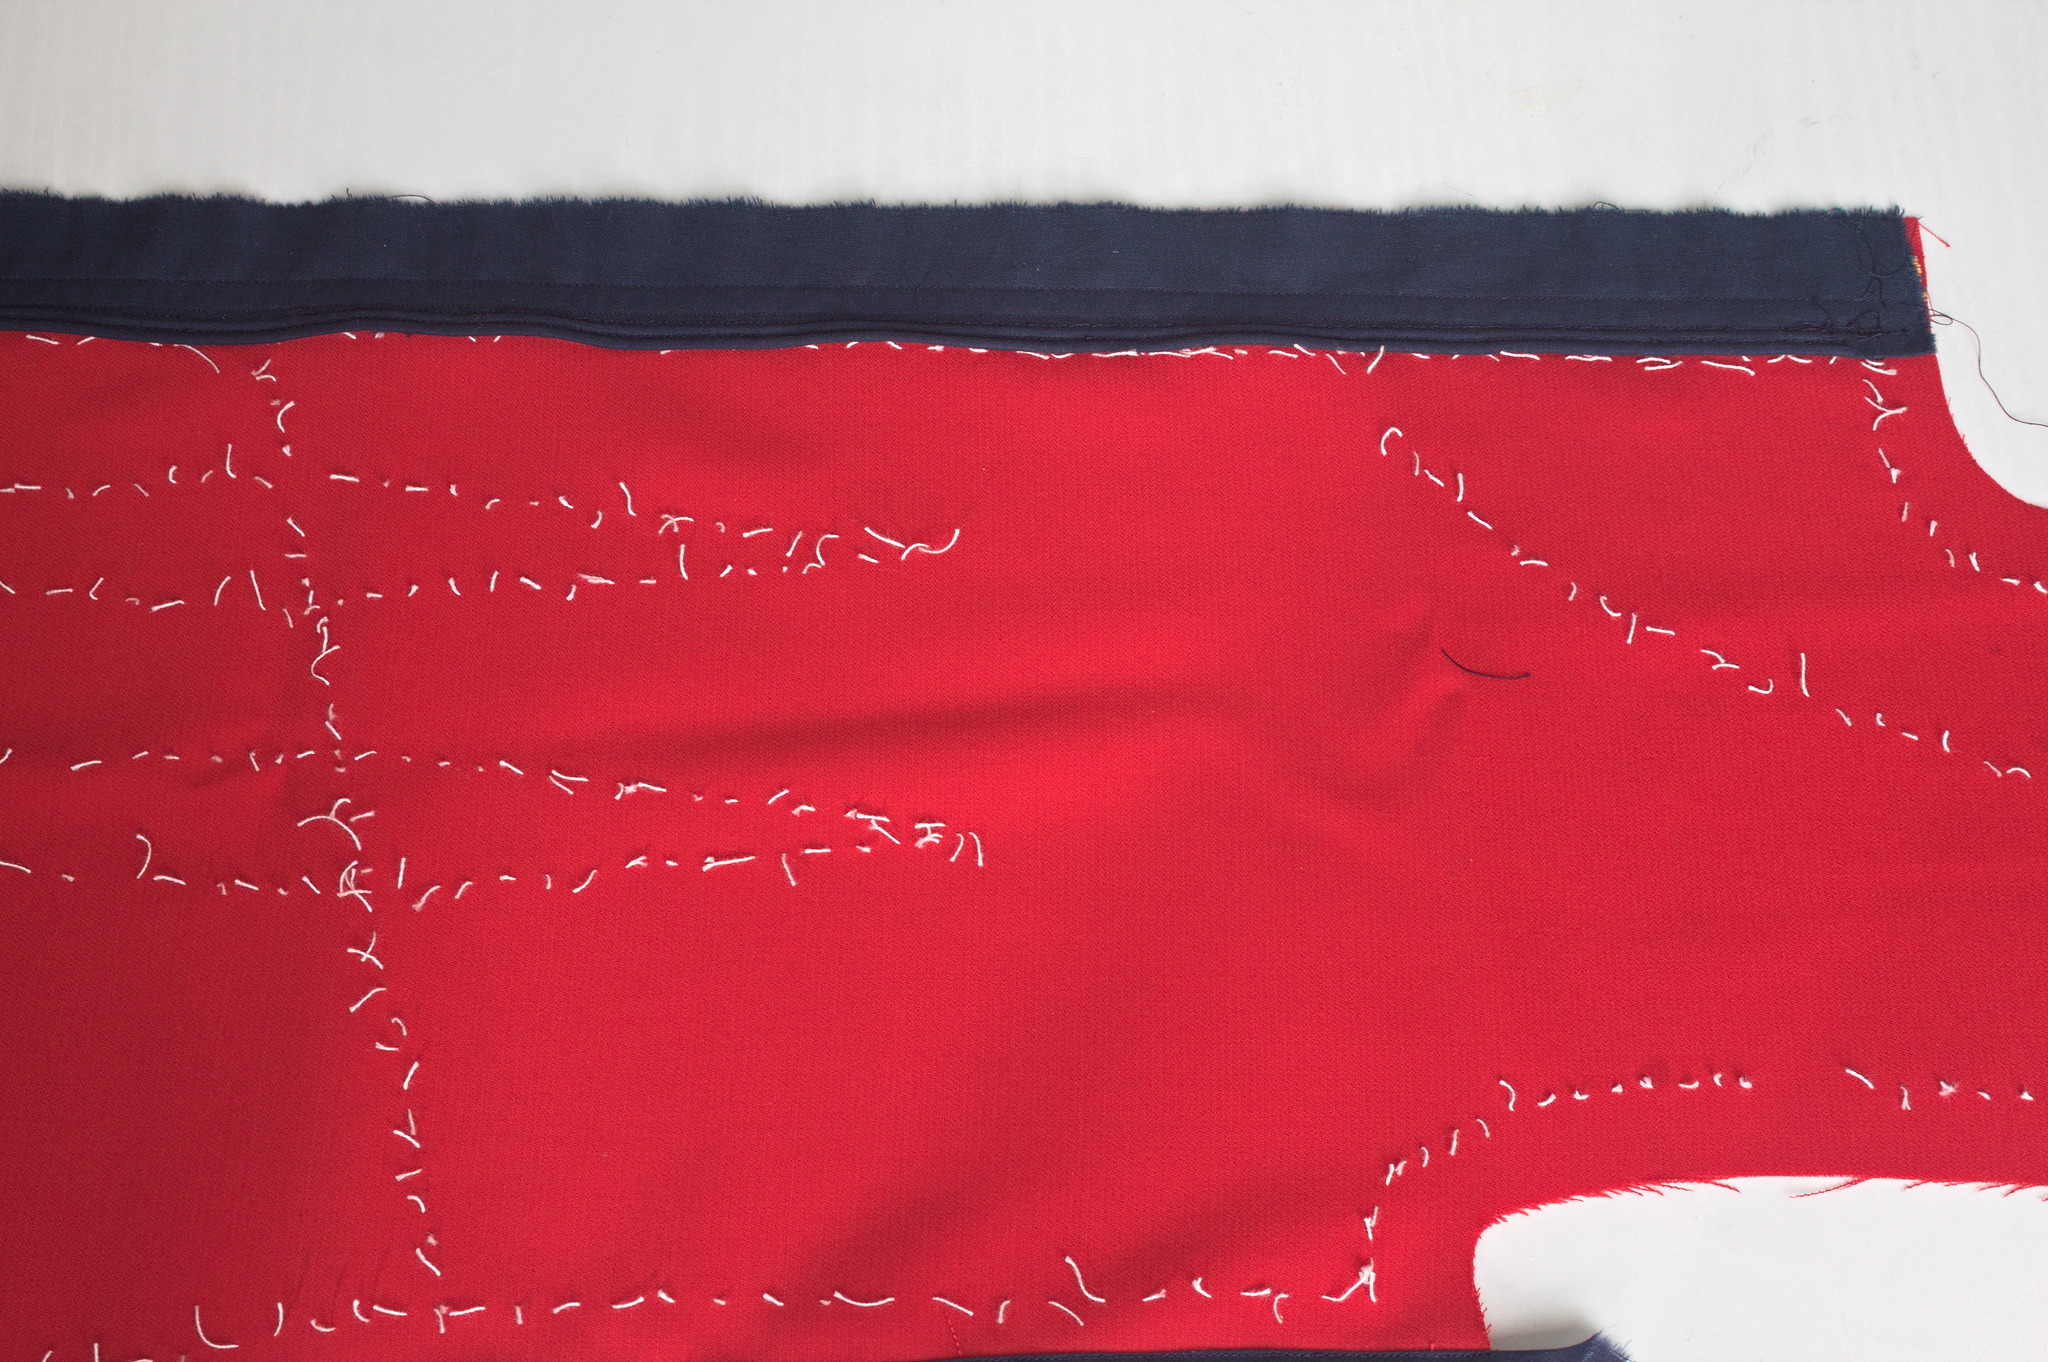
Finally, I could start working on the dress: I cut all of the main
pieces, and since the seam lines were quite curved I marked them with
tailor s tacks, which I don t exactly enjoy doing or removing, but are
the only method that was guaranteed to survive while manipulating this
fabric (and not leave traces afterwards).
I knew that I didn t have enough fabric to add a flounce to the hem, as
in the cotton dress, but then I remembered that some time ago I fell for
a piece of fringed trim in black, white and red. I did a quick check
that the red wasn t clashing (it wasn t) and I knew I had a plan for the
hem decoration.
Then I spent a week finishing other projects, and the more I thought
about this dress, the more I was tempted to have spiral lacing at the
front rather than buttons, as a nod to the kirtle inspiration.
It may end up be a bit of a hassle, but if it is too much I can always
add a hidden zipper on a side seam, and only have to undo a bit of the
lacing around the neckhole to wear the dress.
Finally, I could start working on the dress: I cut all of the main
pieces, and since the seam lines were quite curved I marked them with
tailor s tacks, which I don t exactly enjoy doing or removing, but are
the only method that was guaranteed to survive while manipulating this
fabric (and not leave traces afterwards).
 While cutting the front pieces I accidentally cut the high neck line
instead of the one I had used on the cotton dress: I decided to go for
it also on the back pieces and decide later whether I wanted to lower
it.
Since this is a modern dress, with no historical accuracy at all, and I
have access to a serger, I decided to use some dark blue cotton voile
I ve had in my stash for quite some time, cut into bias strip, to bind
the raw edges before sewing. This works significantly better than bought
bias tape, which is a bit too stiff for this.
While cutting the front pieces I accidentally cut the high neck line
instead of the one I had used on the cotton dress: I decided to go for
it also on the back pieces and decide later whether I wanted to lower
it.
Since this is a modern dress, with no historical accuracy at all, and I
have access to a serger, I decided to use some dark blue cotton voile
I ve had in my stash for quite some time, cut into bias strip, to bind
the raw edges before sewing. This works significantly better than bought
bias tape, which is a bit too stiff for this.
 For the front opening, I ve decided to reinforce the areas where the
lacing holes will be with cotton: I ve used some other navy blue cotton,
also from the stash, and added two lines of cording to stiffen the front
edge.
So I ve cut the front in two pieces rather than on the fold, sewn the
reinforcements to the sewing allowances in such a way that the corded
edge was aligned with the center front and then sewn the bottom of the
front seam from just before the end of the reinforcements to the hem.
For the front opening, I ve decided to reinforce the areas where the
lacing holes will be with cotton: I ve used some other navy blue cotton,
also from the stash, and added two lines of cording to stiffen the front
edge.
So I ve cut the front in two pieces rather than on the fold, sewn the
reinforcements to the sewing allowances in such a way that the corded
edge was aligned with the center front and then sewn the bottom of the
front seam from just before the end of the reinforcements to the hem.
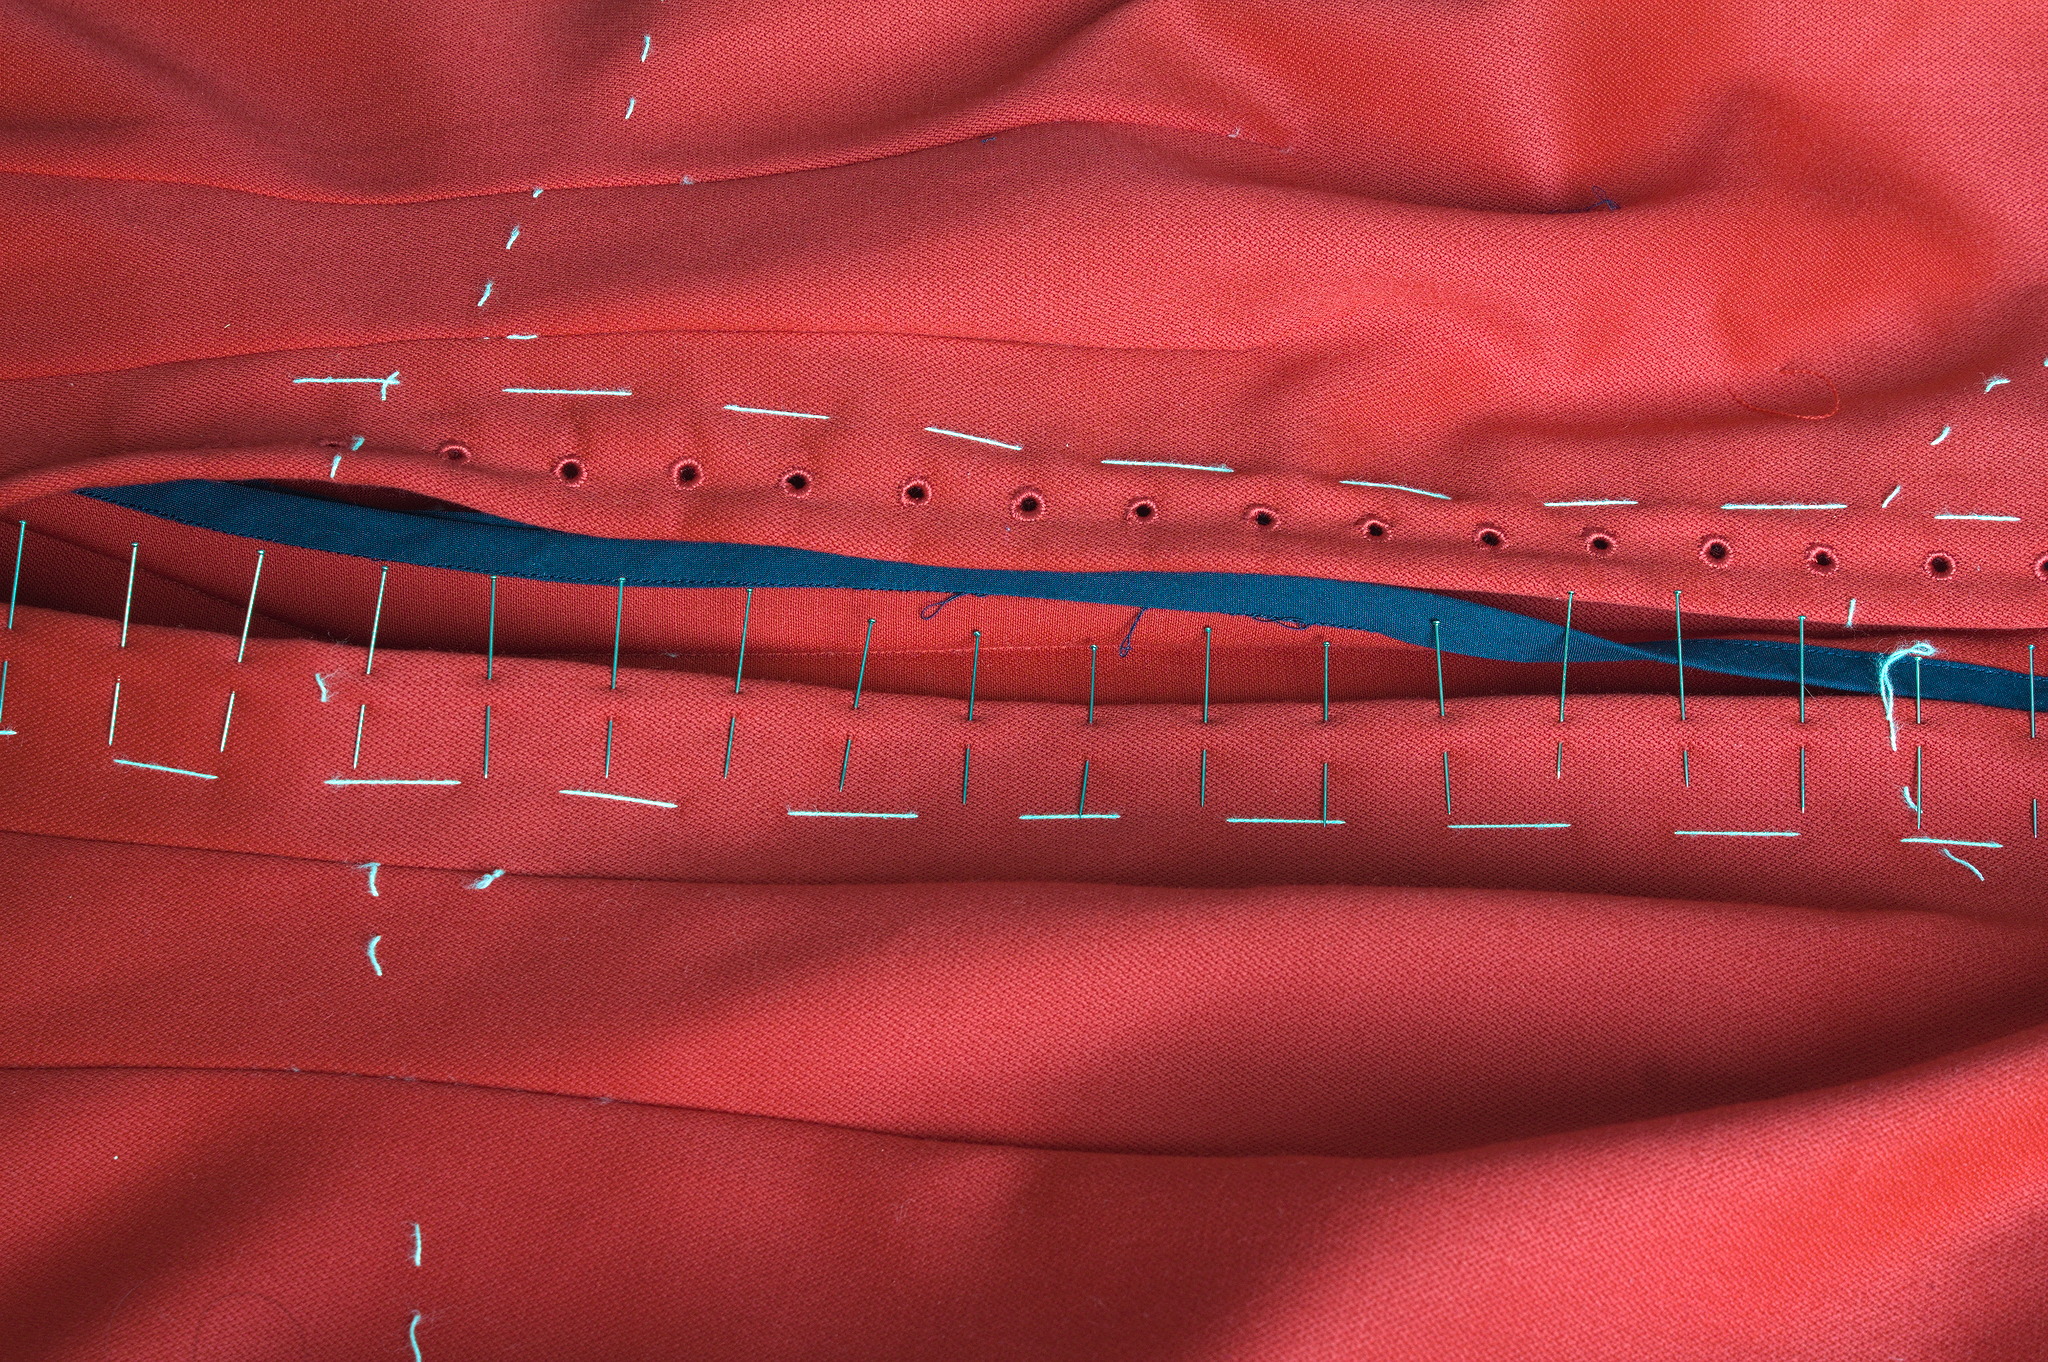 The allowances are then folded back, and then they are kept in place
by the worked lacing holes. The cotton was pinked, while for the wool I
used the selvedge of the fabric and there was no need for any finishing.
Behind the opening I ve added a modesty placket: I ve cut a strip of red
wool, a strip of cotton, folded the edge of the strip of cotton to the
center, added cording to the long sides, pressed the allowances of the
wool towards the wrong side, and then handstitched the cotton to the
wool, wrong sides facing. This was finally handstitched to one side of
the sewing allowance of the center front.
I ve also decided to add real pockets, rather than just slits, and for
some reason I decided to add them by hand after I had sewn the dress, so
I ve left opening in the side back seams, where the slits were in the
cotton dress. I ve also already worn the dress, but haven t added the
pockets yet, as I m still debating about their shape. This will be fixed
in the near future.
Another thing that will have to be fixed is the trim situation: I like
the fringe at the bottom, and I had enough to also make a belt, but this
makes the top of the dress a bit empty. I can t use the same fringe
tape, as it is too wide, but it would be nice to have something smaller
that matches the patterned part. And I think I can make something
suitable with tablet weaving, but I m not sure on which materials to
use, so it will have to be on hold for a while, until I decide on the
supplies and have the time for making it.
Another improvement I d like to add are detached sleeves, both matching
(I should still have just enough fabric) and contrasting, but first I
want to learn more about real kirtle construction, and maybe start
making sleeves that would be suitable also for a real kirtle.
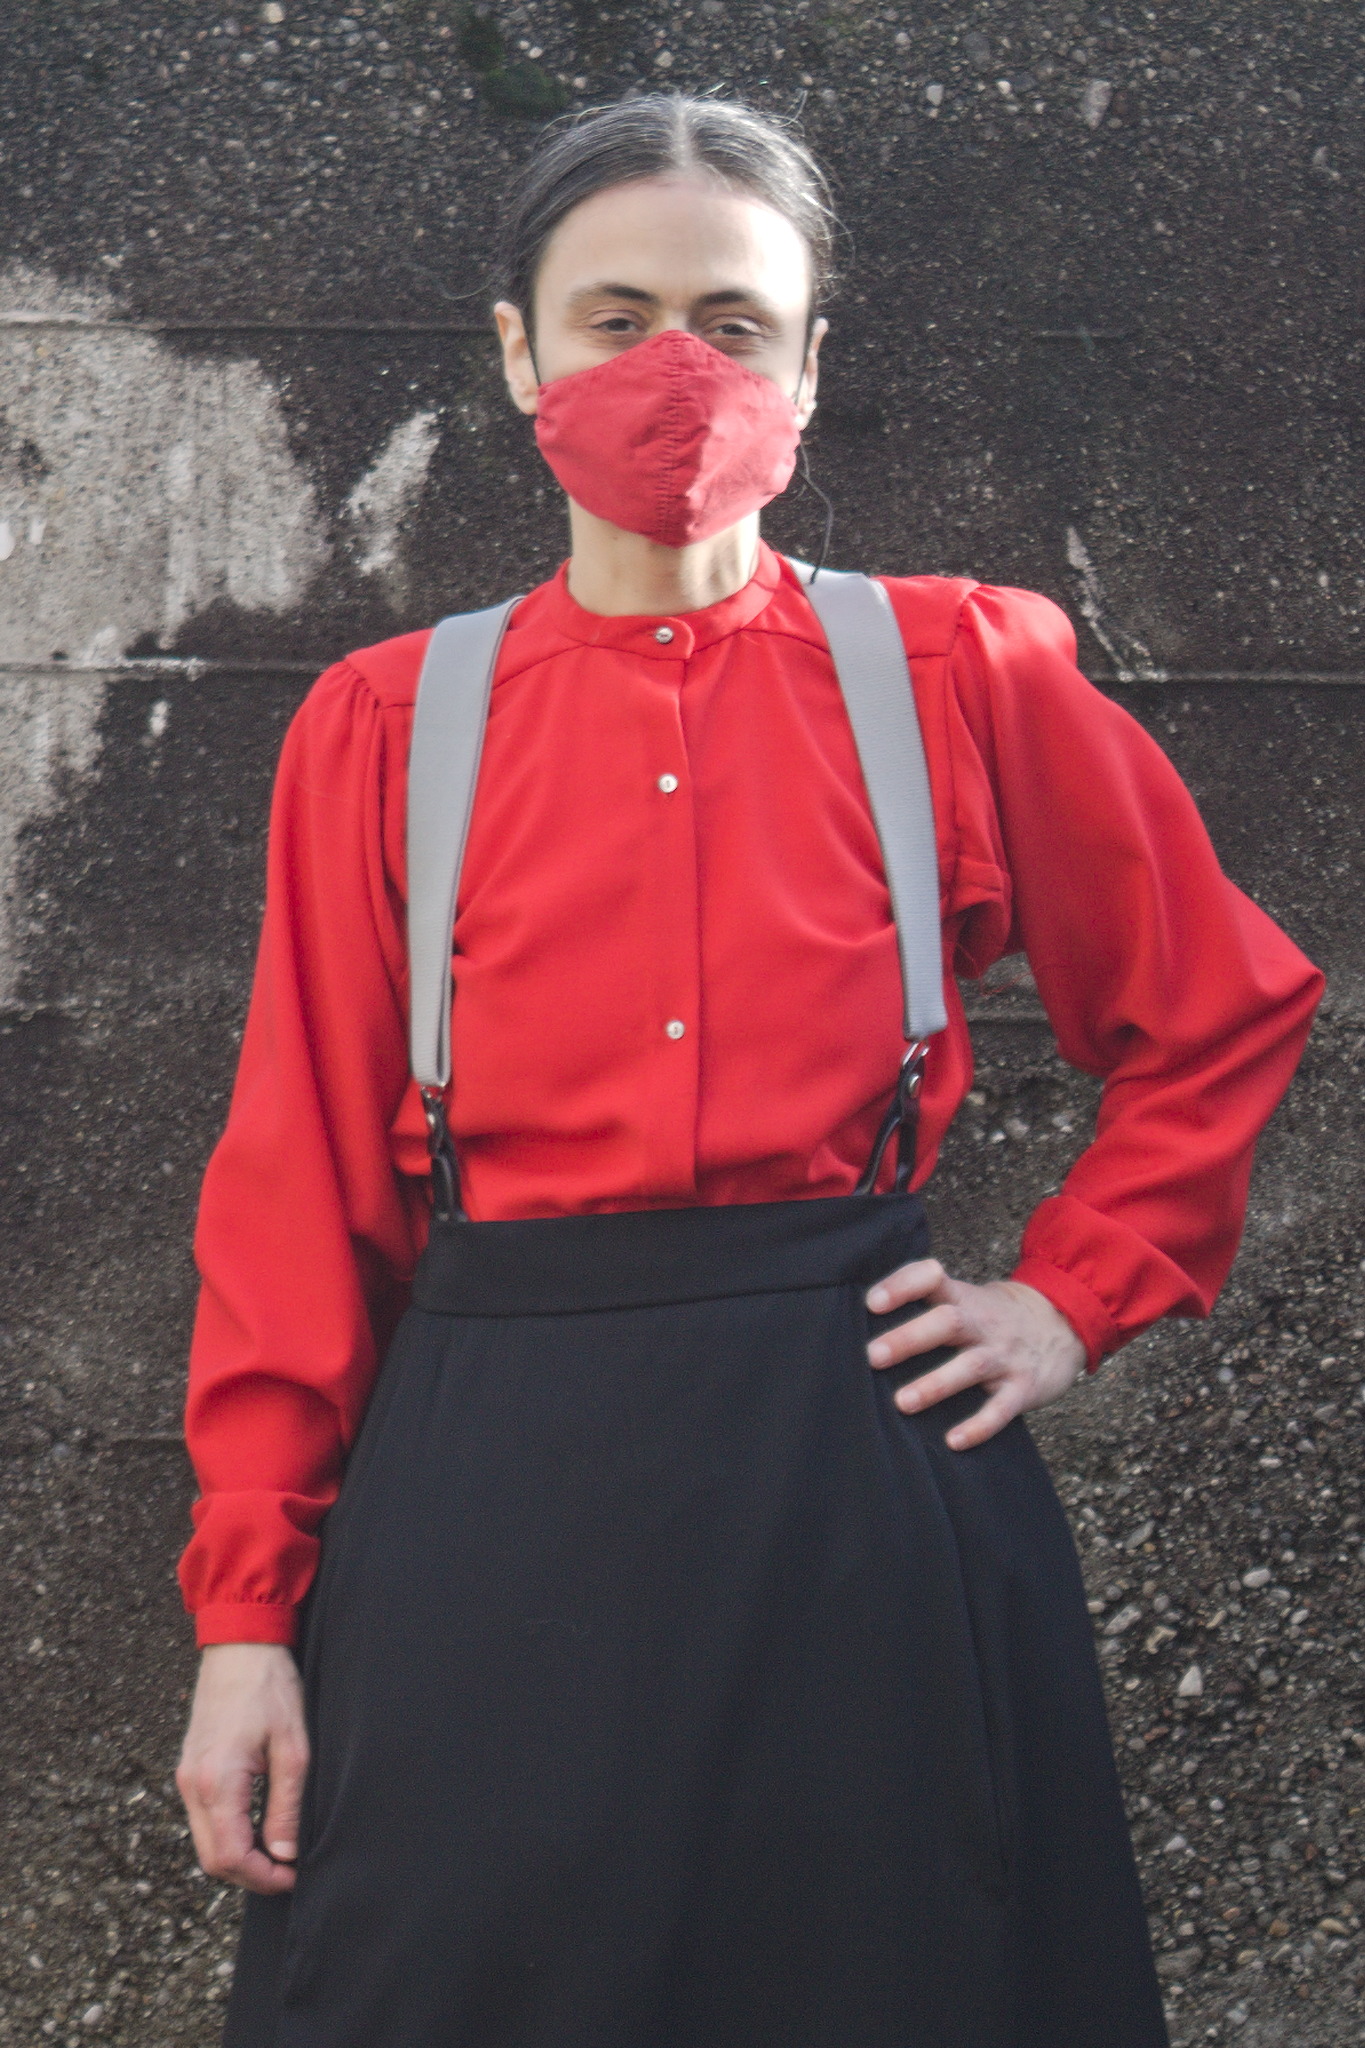
Meanwhile, I ve worn it on Christmas (over my 1700s menswear shirt with
big sleeves) and may wear it again tomorrow (if I bother to dress up to
spend New Year s Eve at home :D )
The allowances are then folded back, and then they are kept in place
by the worked lacing holes. The cotton was pinked, while for the wool I
used the selvedge of the fabric and there was no need for any finishing.
Behind the opening I ve added a modesty placket: I ve cut a strip of red
wool, a strip of cotton, folded the edge of the strip of cotton to the
center, added cording to the long sides, pressed the allowances of the
wool towards the wrong side, and then handstitched the cotton to the
wool, wrong sides facing. This was finally handstitched to one side of
the sewing allowance of the center front.
I ve also decided to add real pockets, rather than just slits, and for
some reason I decided to add them by hand after I had sewn the dress, so
I ve left opening in the side back seams, where the slits were in the
cotton dress. I ve also already worn the dress, but haven t added the
pockets yet, as I m still debating about their shape. This will be fixed
in the near future.
Another thing that will have to be fixed is the trim situation: I like
the fringe at the bottom, and I had enough to also make a belt, but this
makes the top of the dress a bit empty. I can t use the same fringe
tape, as it is too wide, but it would be nice to have something smaller
that matches the patterned part. And I think I can make something
suitable with tablet weaving, but I m not sure on which materials to
use, so it will have to be on hold for a while, until I decide on the
supplies and have the time for making it.
Another improvement I d like to add are detached sleeves, both matching
(I should still have just enough fabric) and contrasting, but first I
want to learn more about real kirtle construction, and maybe start
making sleeves that would be suitable also for a real kirtle.
Meanwhile, I ve worn it on Christmas (over my 1700s menswear shirt with
big sleeves) and may wear it again tomorrow (if I bother to dress up to
spend New Year s Eve at home :D )
 This post describes how I m using

 Over roughly the last year and a half I have been participating as a reviewer in
ACM s
Over roughly the last year and a half I have been participating as a reviewer in
ACM s 


 I was looking over the list of live music I'd seen this year and realised that
avante-garde composer William Basinski was actually last year and I had
forgotten to write about it!
In November 2022, Basinski headlined a night of performances which otherwise
featured folk from the venue's "Arists in Residence" programme, with some
affiliation to
I was looking over the list of live music I'd seen this year and realised that
avante-garde composer William Basinski was actually last year and I had
forgotten to write about it!
In November 2022, Basinski headlined a night of performances which otherwise
featured folk from the venue's "Arists in Residence" programme, with some
affiliation to  Some years ago a customer needed a live ISO containing a customized
FAI environment (not for installing but for extended hardware stress
tests), but on an USB stick with the possibility to store the logs of
the tests on the USB stick. But an ISO file system (iso9660) remains
read-only, even when put onto an USB stick.
I had the idea to add another partition onto the USB stick after
the ISO was written to it (using cp or dd).
You can use fdisk with an ISO file, add a new partition, loop mount
the ISO and format this partition. That's all. This worked perfect for my customer.
I forgot this idea for a while but a few weeks ago I remembered it.
What could be possible when my FAI (Fully Automatic Installation)
image would also provide such a partition? Which things could be
provided on this partition?
Could I provide a FAI ISO and my users would be able to easily put
their own .deb package onto it without remastering the ISO or building
an ISO on their own?
Now here's the shell script, that extends an ISO or an USB stick with an
ext4 or exFAT partition and set the file system label to MY-DATA.
Some years ago a customer needed a live ISO containing a customized
FAI environment (not for installing but for extended hardware stress
tests), but on an USB stick with the possibility to store the logs of
the tests on the USB stick. But an ISO file system (iso9660) remains
read-only, even when put onto an USB stick.
I had the idea to add another partition onto the USB stick after
the ISO was written to it (using cp or dd).
You can use fdisk with an ISO file, add a new partition, loop mount
the ISO and format this partition. That's all. This worked perfect for my customer.
I forgot this idea for a while but a few weeks ago I remembered it.
What could be possible when my FAI (Fully Automatic Installation)
image would also provide such a partition? Which things could be
provided on this partition?
Could I provide a FAI ISO and my users would be able to easily put
their own .deb package onto it without remastering the ISO or building
an ISO on their own?
Now here's the shell script, that extends an ISO or an USB stick with an
ext4 or exFAT partition and set the file system label to MY-DATA.
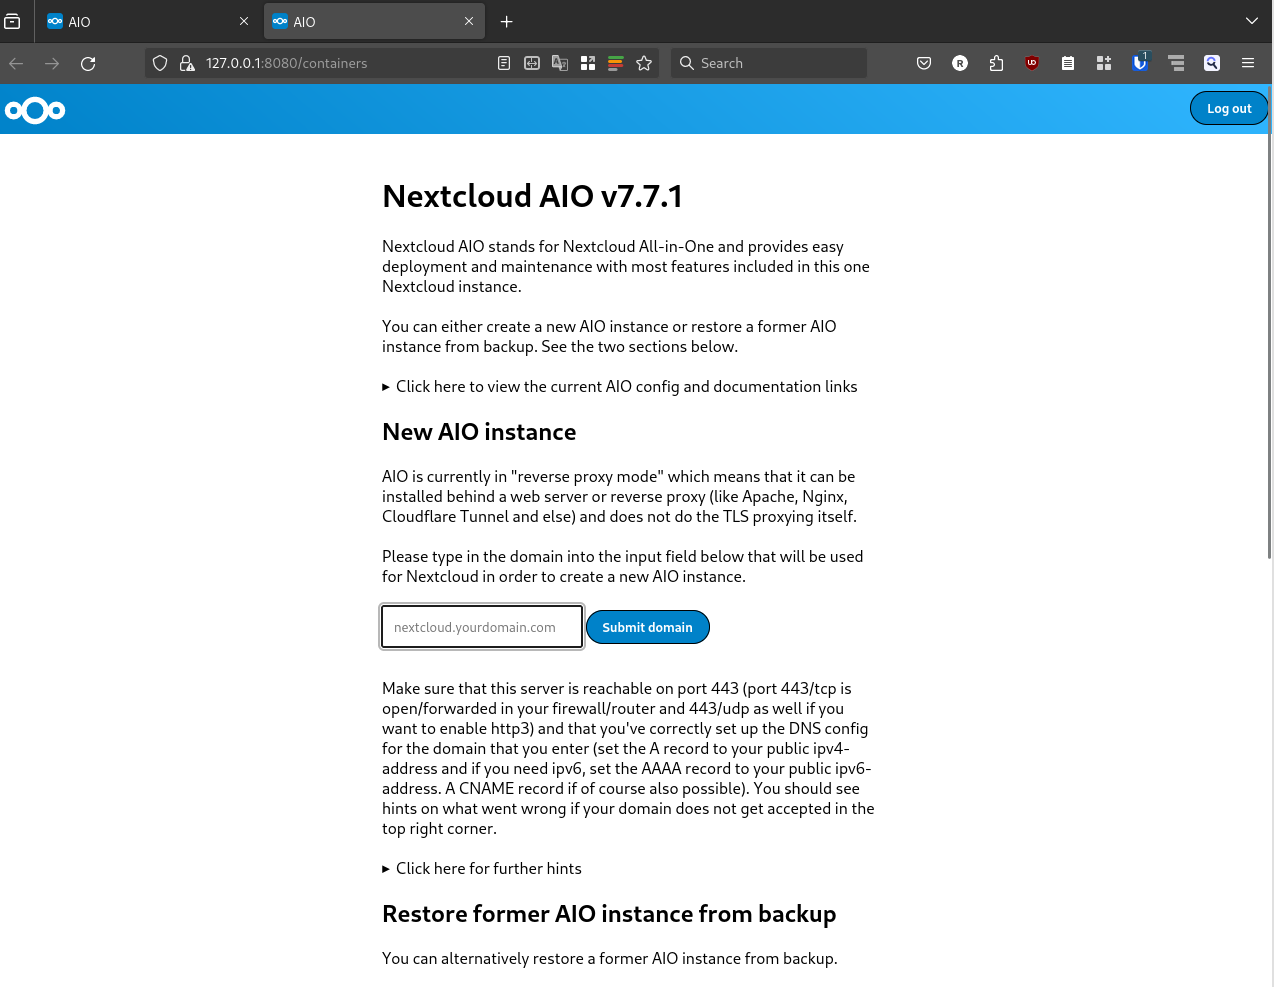
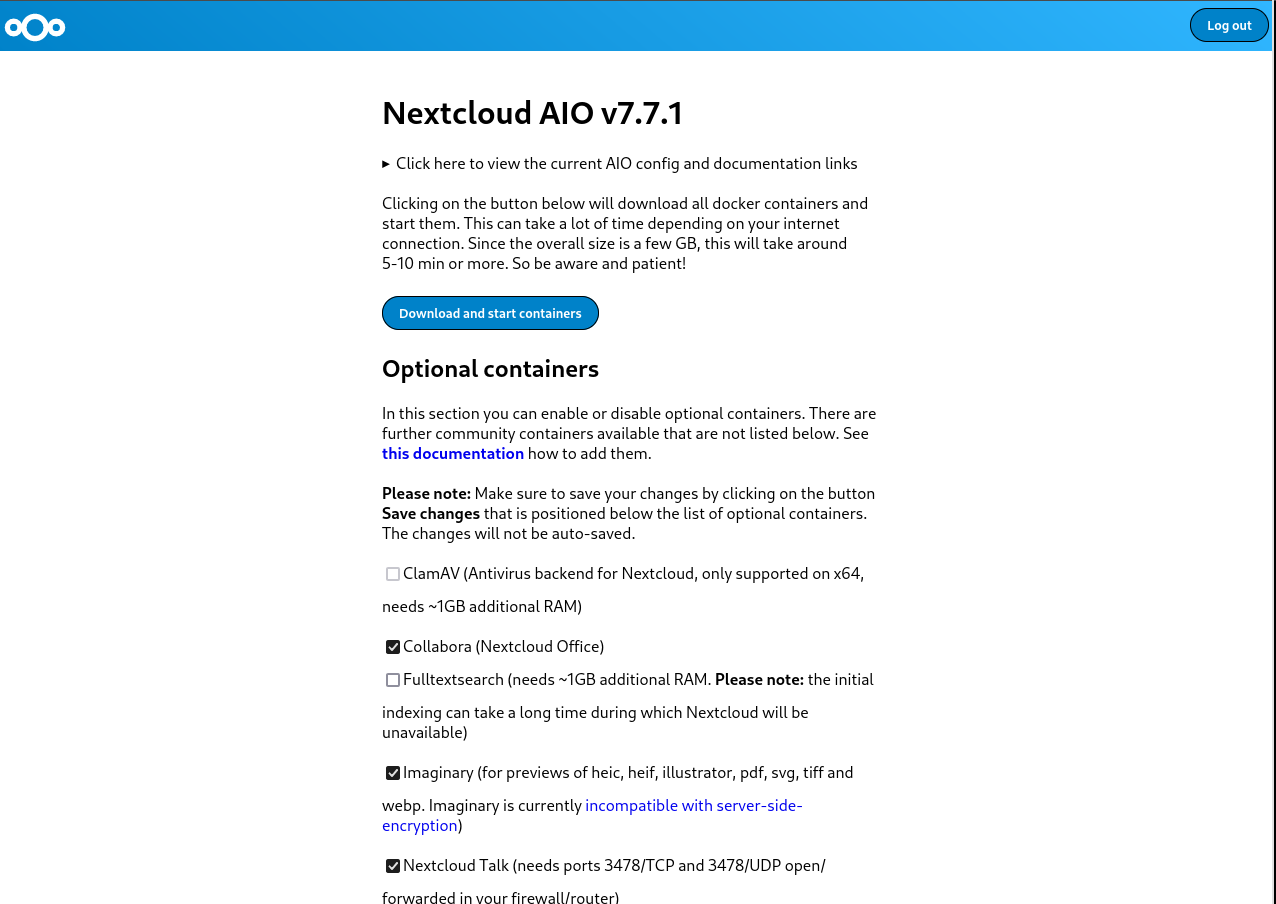
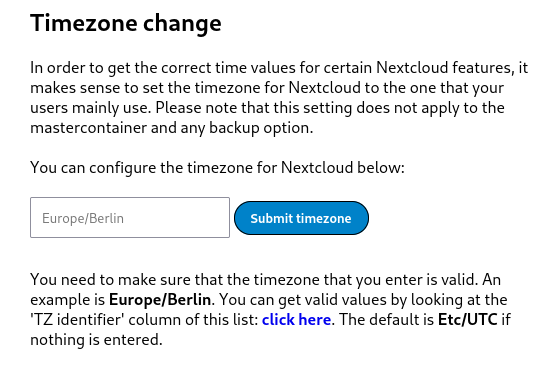
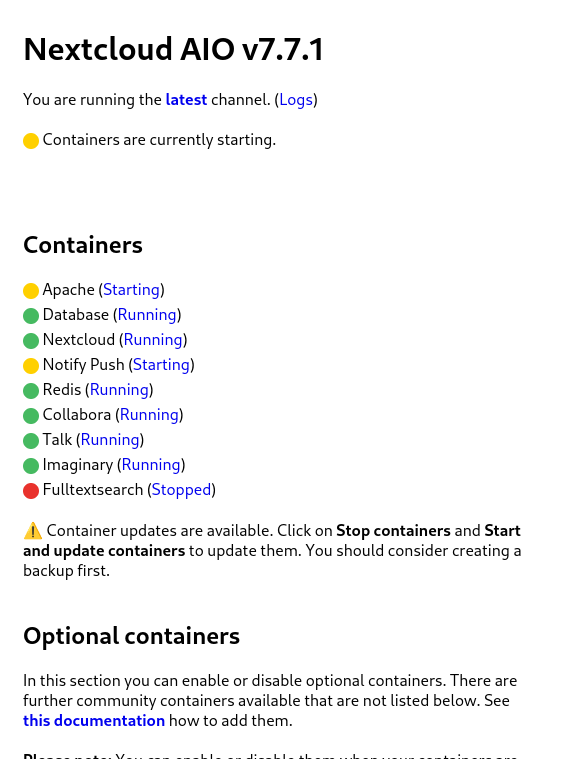
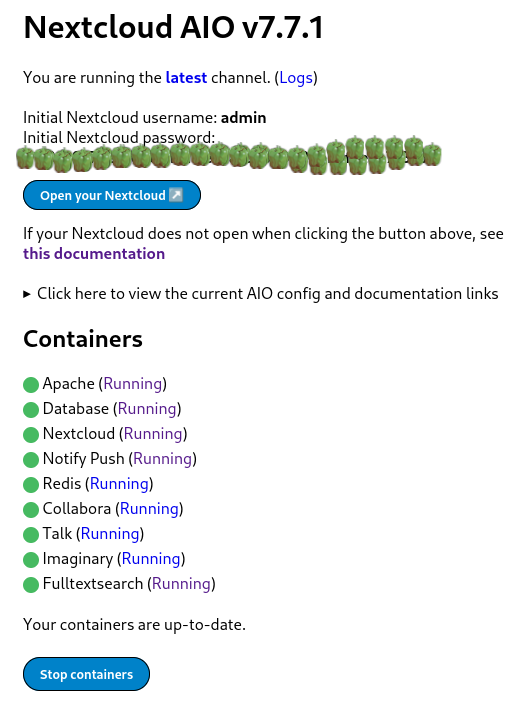
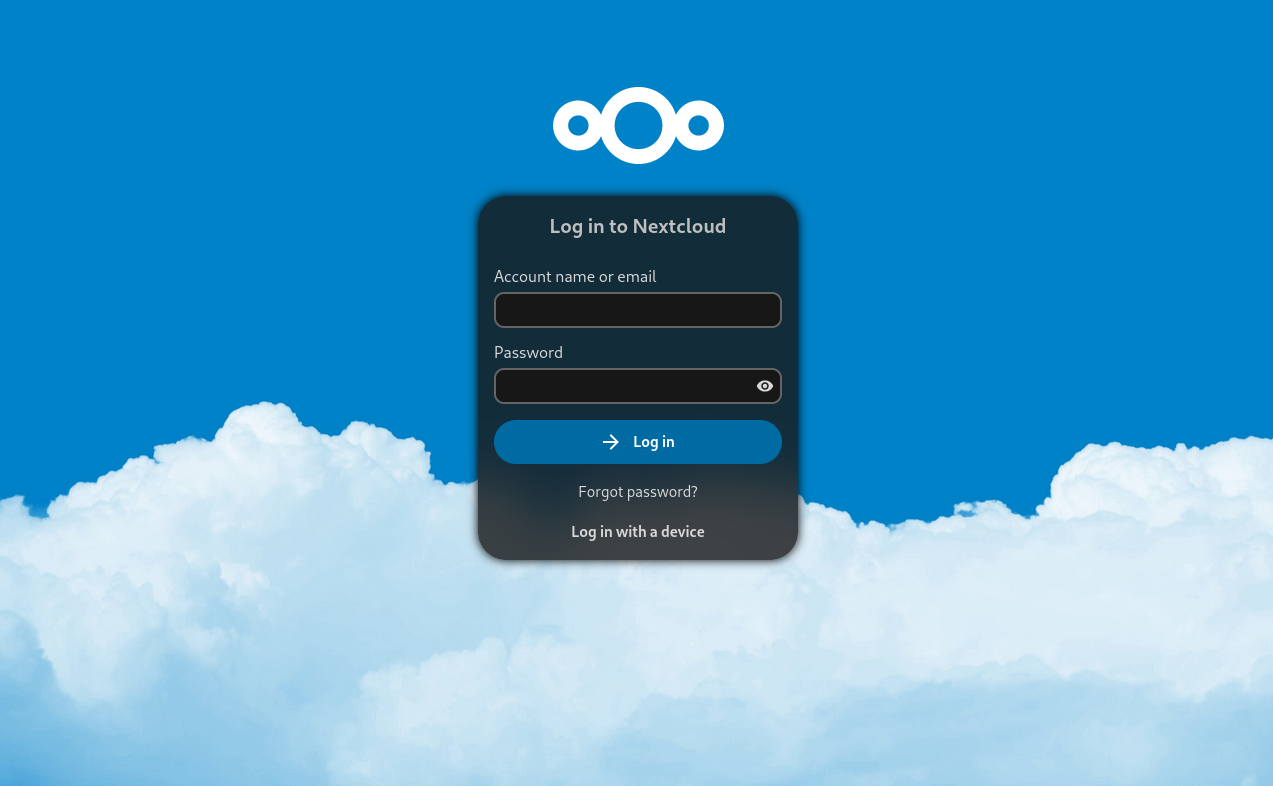
 Nextcloud is a popular self-hosted solution for file sync and share as well as cloud apps such as document editing, chat and talk, calendar, photo gallery etc. This guide will walk you through setting up Nextcloud AIO using Docker Compose. This blog post would not be possible without immense help from Sahil Dhiman a.k.a.


 Hello from a snowy Montr al! My life has been pretty busy lately


 A new maintenance release 0.1.11 of the
